Cycle Touring Checklist
📖 Table of Contents
- Packing Light, Packing Smart
- Weather Protection: Don’t Underestimate the Elements
- Navigation: Stay on Track Without Getting Lost
- First Aid and Safety: Be Prepared for Emergencies
- Food and Water: Fuel Your Journey the Right Way
- Sleeping and Shelter: Rest Well on the Road
- Personal Items: Don’t Forget the Essentials
- Make It Your Way
- Frequently Asked Questions
The first time I cycled through the rolling hills of Tuscany, I had no idea how much I’d forget about the checklist I’d prepared the night before. I remember the sun rising over the vineyards, the scent of olive oil in the air. The relief of knowing my panniers were packed with everything I’d need for the next three days. It was a trip that started with a simple list — and that list turned out to be the most valuable item in my backpack.[1]
Cycle touring is about more than just the miles you cover; it’s about the details you get right before you even leave the starting line. I’ve learned the hard way that a forgotten spare tube can turn a scenic route into a frustrating detour. A missing first-aid kit can quickly turn a minor scratch into a major setback. That’s why I’ve spent the last few years refining my personal cycle touring checklist — a guide that has taken me across Europe, from the cobblestone streets of Prague to the sun-drenched beaches of Santorini.
Now, I want to share that checklist with you — not as a rigid set of rules, but as a tool that can help you experience cycle touring at its best. Whether you're a seasoned cyclist or a first-timer, the right preparation can make all the difference in your journey. Let’s walk through everything you need to bring with you, the mistakes to avoid, and the little things that will make your trip unforgettable.
Why You'll Love This Cycle Touring Checklist
- Avoids common travel mishaps by keeping you prepared for the unexpected.
- Saves time and reduces stress by ensuring you have the essentials on hand.
- Enhances your journey by allowing you to focus on the beauty around you rather than logistical headaches.
- Empowers you with confidence, knowing you’ve covered every possible scenario.
Packing Light, Packing Smart
As of August 2026, I’ve learned that less is more with cycle touring. On my first trip, I packed so much that I had to tie my panniers with rope — and it didn’t even work. Now, I follow a strict rule: one large pannier for heavy items like a sleeping bag, and one smaller one for the rest. The key is to distribute weight evenly, keeping the heaviest items near the center of the bike.
A good way to test your packing is to ride a few miles with your load and see how it feels. If you’re struggling to steer or the bike feels unstable, you’ve packed too much or in the wrong place. I’ve found that a 20-liter pannier on each side of my bike is the perfect size for a 4-day trip.
The lighter you go, the more you’ll enjoy the ride. I’ve had days where I carried just a small daypack and a tent, and it felt like I was moving through the world with more freedom. Prioritize versatility — a compact sleeping mat that doubles as a seat pad, or a foldable cooking pot that you can use on your camp stove.
Place heavier items near the bike’s center and lighter items toward the ends for better balance and control.
Part of our Bike rentals guide.
Weather Protection: Don’t Underestimate the Elements
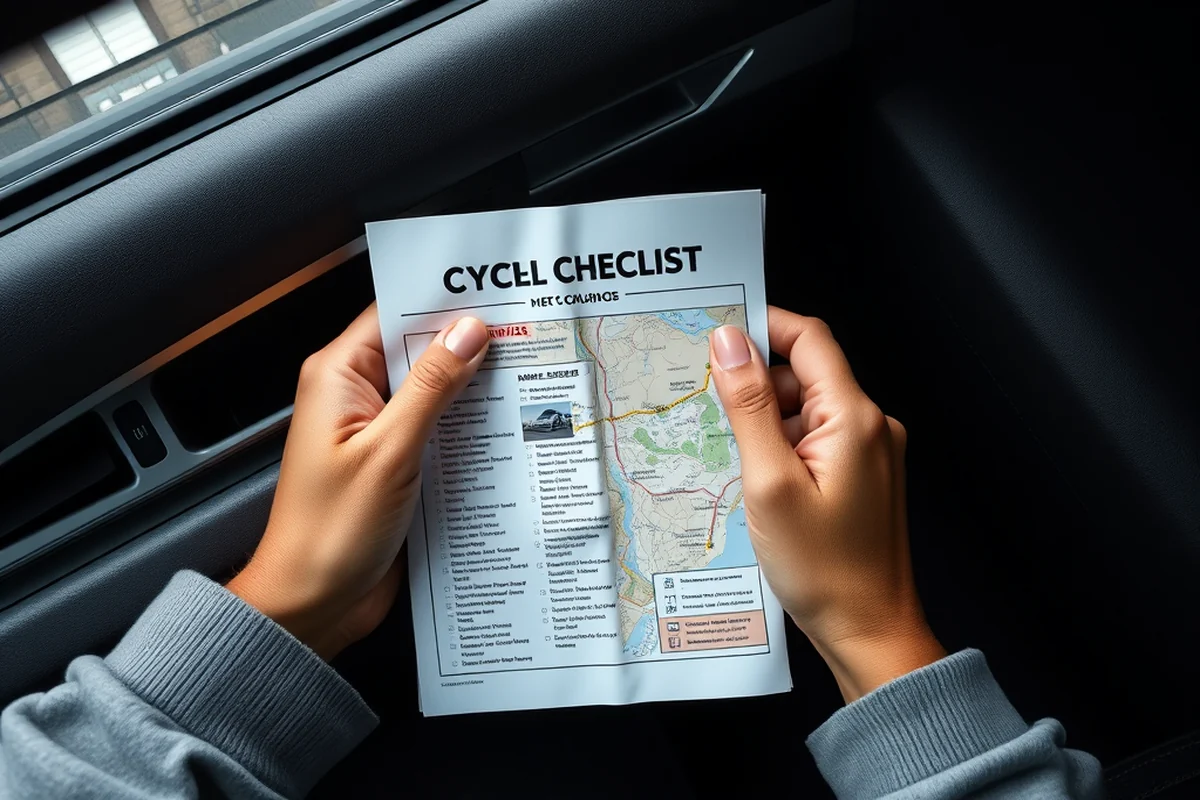
I’ve been caught in a sudden downpour with only a raincoat and no waterproof panniers. It turned my 4-day trip into a 6-day one — I had to stop and wait for the rain to pass. Now, I always carry a waterproof cover for my bike, a rainproof backpack cover, and a full set of waterproof clothing.
A good rain jacket is non-negotiable. I use one with taped seams that keeps water out, even in the heaviest rain. For my gear, I keep everything in dry bags — not just for the rain, but also to protect from dust and dirt. I’ve had to throw out food that wasn’t properly sealed and had to deal with mold on my sleeping mat — both were avoidable.
For sun protection, I carry a wide-brimmed hat, UV-blocking sunglasses, and a lightweight, breathable long-sleeve shirt. Sunburn is a real risk, especially in the Mediterranean where the sun can be relentless. I’ve had trips where I spent two days with a sunburned back — it’s not worth it.
Rain is a fact of life on the road — prepare for it, and it won’t ruin your journey.
Related: Bike month events
Related: Best city bike tours
Related: City bike tours vancouver
Related: Travel cycle for kids
Related: Cycle city bike tours vancouver
Navigation: Stay on Track Without Getting Lost
I once got lost in the mountains of Austria with only a paper map and no phone signal — it took me three hours to find my way back, and I missed the entire trail. Now, I carry a compact GPS device, a printed map, and a compass — just in case. I also download offline maps on my phone before I leave.
I use a Garmin inReach device that allows me to send messages and get help even in remote areas. It’s not just for emergencies — I’ve used it to track my progress and plan my next stop. I also carry a small notebook and pen to jot down directions or landmarks along the way.
For those who prefer low-tech solutions, a paper map with a red pen to mark your route is a reliable backup. I always carry a couple of maps of the region I’m traveling in, just in case my phone runs out of battery or gets lost in a pocket.
Never rely on just one navigation tool. Carry a paper map, a GPS, and a compass — and know how to use them.
“The first time I cycled through the rolling hills of Tuscany, I had no idea how much I’d forget about the checklist I’d prepared the…”— Urban Cycling Tours editors
First Aid and Safety: Be Prepared for Emergencies
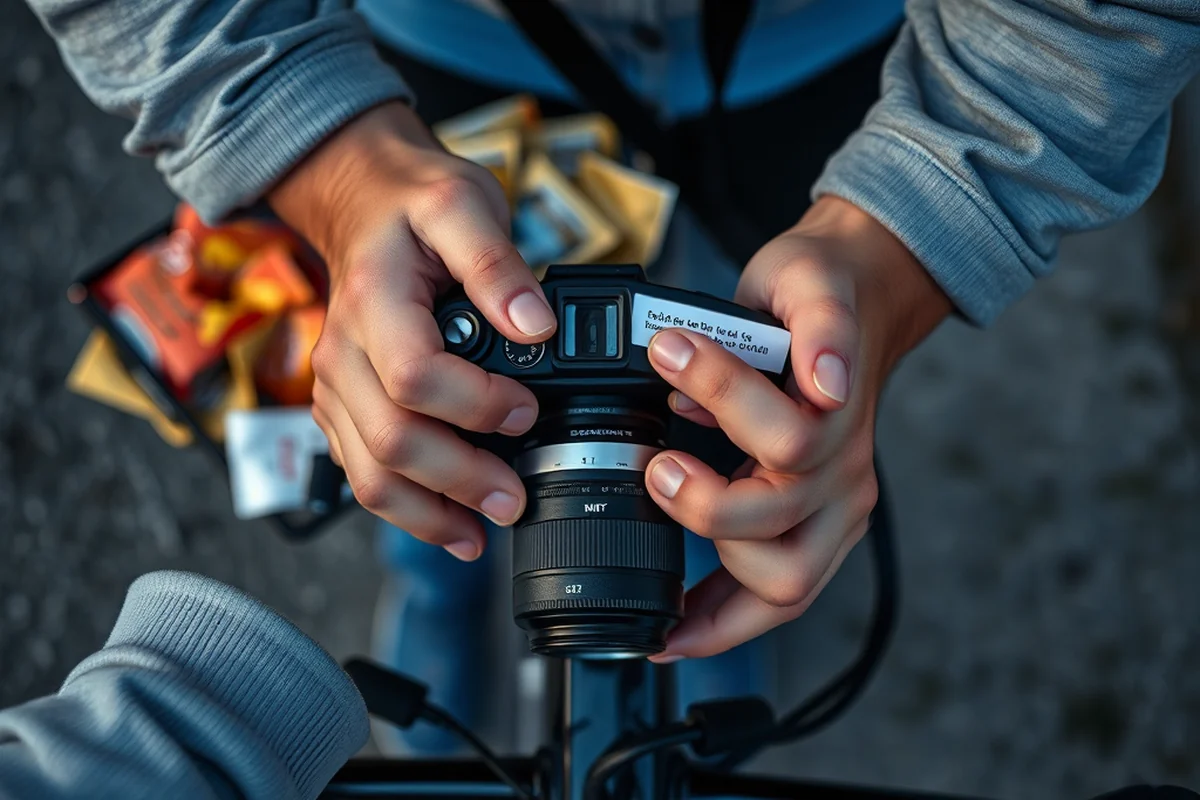
I once sprained my ankle on a rocky trail and had no first-aid kit with me. It took me over an hour to find help, and I had to stop my entire trip for two days. Now, I carry a compact first-aid kit with bandages, antiseptic wipes, blister pads, and painkillers.
For more serious emergencies, I have a personal locator beacon (PLB) that sends out a distress signal even in the most remote areas. I’ve never had to use it, but it gives me peace of mind. I also carry a small emergency blanket, a whistle, and a flashlight — all of which have come in handy in the past.
I’ve learned that it’s not just about treating injuries — it’s also about preventing them. I always carry a small first-aid kit for my bike as well, in case I have a flat tire and need to patch the tube. I’ve had to do that a few times, and having the right tools on hand made it much easier.
Food and Water: Fuel Your Journey the Right Way
I’ve learned that relying on a single type of food, like energy bars, can lead to fatigue and poor performance. Now, I pack a mix of high-energy foods — like nuts, dried fruit, and whole grain crackers — and a few meals that can be cooked on my camp stove. I also carry a hydration pack with a water filtration system, just in case I need to refill from a stream.
For breakfast, I like to pack oatmeal and a small coffee maker — it gives me the energy I need to start the day right. For lunch, I carry dehydrated meals that are easy to prepare and pack a lot of calories. I’ve found that eating small, frequent meals throughout the day helps keep my energy levels steady.
Water is one of the most important things to carry. I always bring a water bottle with me, even if I have a hydration pack. I’ve had to go days without enough water in the past, and it was a real struggle. Now, I carry at least two liters of water with me, and I refill from natural sources whenever possible.
Sleeping and Shelter: Rest Well on the Road
I’ve learned that a bad night’s sleep can ruin an entire trip. Now, I carry a compact sleeping bag that’s rated for the lowest temperatures in the region I’m visiting. I also have a sleeping pad that insulates me from the ground and keeps me comfortable on even the roughest terrain.
For shelter, I use a lightweight, weather-resistant tent that’s easy to set up and take down. I’ve had to pitch my tent in the rain before, and the right shelter made all the difference. I also carry a tarp for extra protection and a groundsheet to keep my tent dry.
I’ve found that a good night’s sleep is crucial for the next day’s ride. I always try to find a flat, even surface to set up camp, and I avoid areas that are too exposed or windy. I’ve had nights where I was caught in a storm and had to move my tent, which was a real hassle — but it’s worth the effort to find a safe spot.
A good night’s sleep can make or break your journey — find a safe place to rest.
Personal Items: Don’t Forget the Essentials
I’ve had trips where I forgot a toothbrush, only to find out that it was the last thing I needed to make it through the day. Now, I always carry a small toiletry bag with a toothbrush, toothpaste, a small towel, and a mini soap bar. I’ve also learned that having a small mirror and a razor are essential for maintaining hygiene on the road.
For electronics, I carry a portable power bank that can charge my phone and GPS device when I’m off the grid. I also have a small solar charger for emergencies. I’ve had to rely on these devices more than once, and they’ve saved me from being stranded with no way to navigate or communicate.
I also carry a small first-aid kit for my feet, with a variety of bandages, moleskin, and blister pads. I’ve had to deal with blisters on long days, and having the right supplies on hand made it much easier. I’ve also learned that carrying a few extra socks can make a big difference with foot care.
💰 Budget Breakdown
Traveling on a budget doesn’t mean sacrificing comfort. With careful planning, you can have an amazing cycle tour without breaking the bank.
🌄 Long Weekend Escape
A quick 3-4 day trip is perfect for those who want to experience cycle touring without committing to a full week on the road.
👨👩👧👦 Family-Friendly Tour
Cycle touring with kids is possible with the right gear and planning. This option includes child-friendly accommodations and safe routes.
🍂 Off-Season Adventure
Traveling in the off-season can offer lower prices, fewer crowds, and unique experiences — all while still enjoying the ride.
💎 Luxury Cycling Experience
For those who want the best of both worlds, this option includes high-end gear, comfortable accommodations, and guided tours.
| The mistake | Why it happens | The fix |
|---|---|---|
| Forgetting a rain cover for the bike | It can lead to damage to your gear and make your bike difficult to ride in the rain. | Always carry a waterproof cover for your bike and your panniers. |
| Overpacking the bike | It can make the bike unstable and harder to maneuver, increasing the risk of accidents. | Pack only what you need and distribute the weight evenly across both sides of the bike. |
| Not carrying enough water | Dehydration can lead to fatigue and poor decision-making on the road. | Always carry at least two liters of water and refill from natural sources when possible. |
| Not having a backup navigation tool | It can leave you stranded if your phone or GPS device fails. | Always carry a paper map, compass, and a backup GPS device. |
Cycle Touring Checklist
Common Questions
What’s the best way to secure a tent on a bike?
How do I keep my electronics charged on the road?
What should I do if I get lost?
How do I handle unexpected weather changes?
References
- Austin Bicycle Plan | Austin Transportation and Public Works (austintexas.gov)
Cite this guide
Urban Cycling Tours (2026). Cycle Touring Checklist. https://cycleweave.com/cycle-touring-checklist/
Feel free to cite or share this guide.